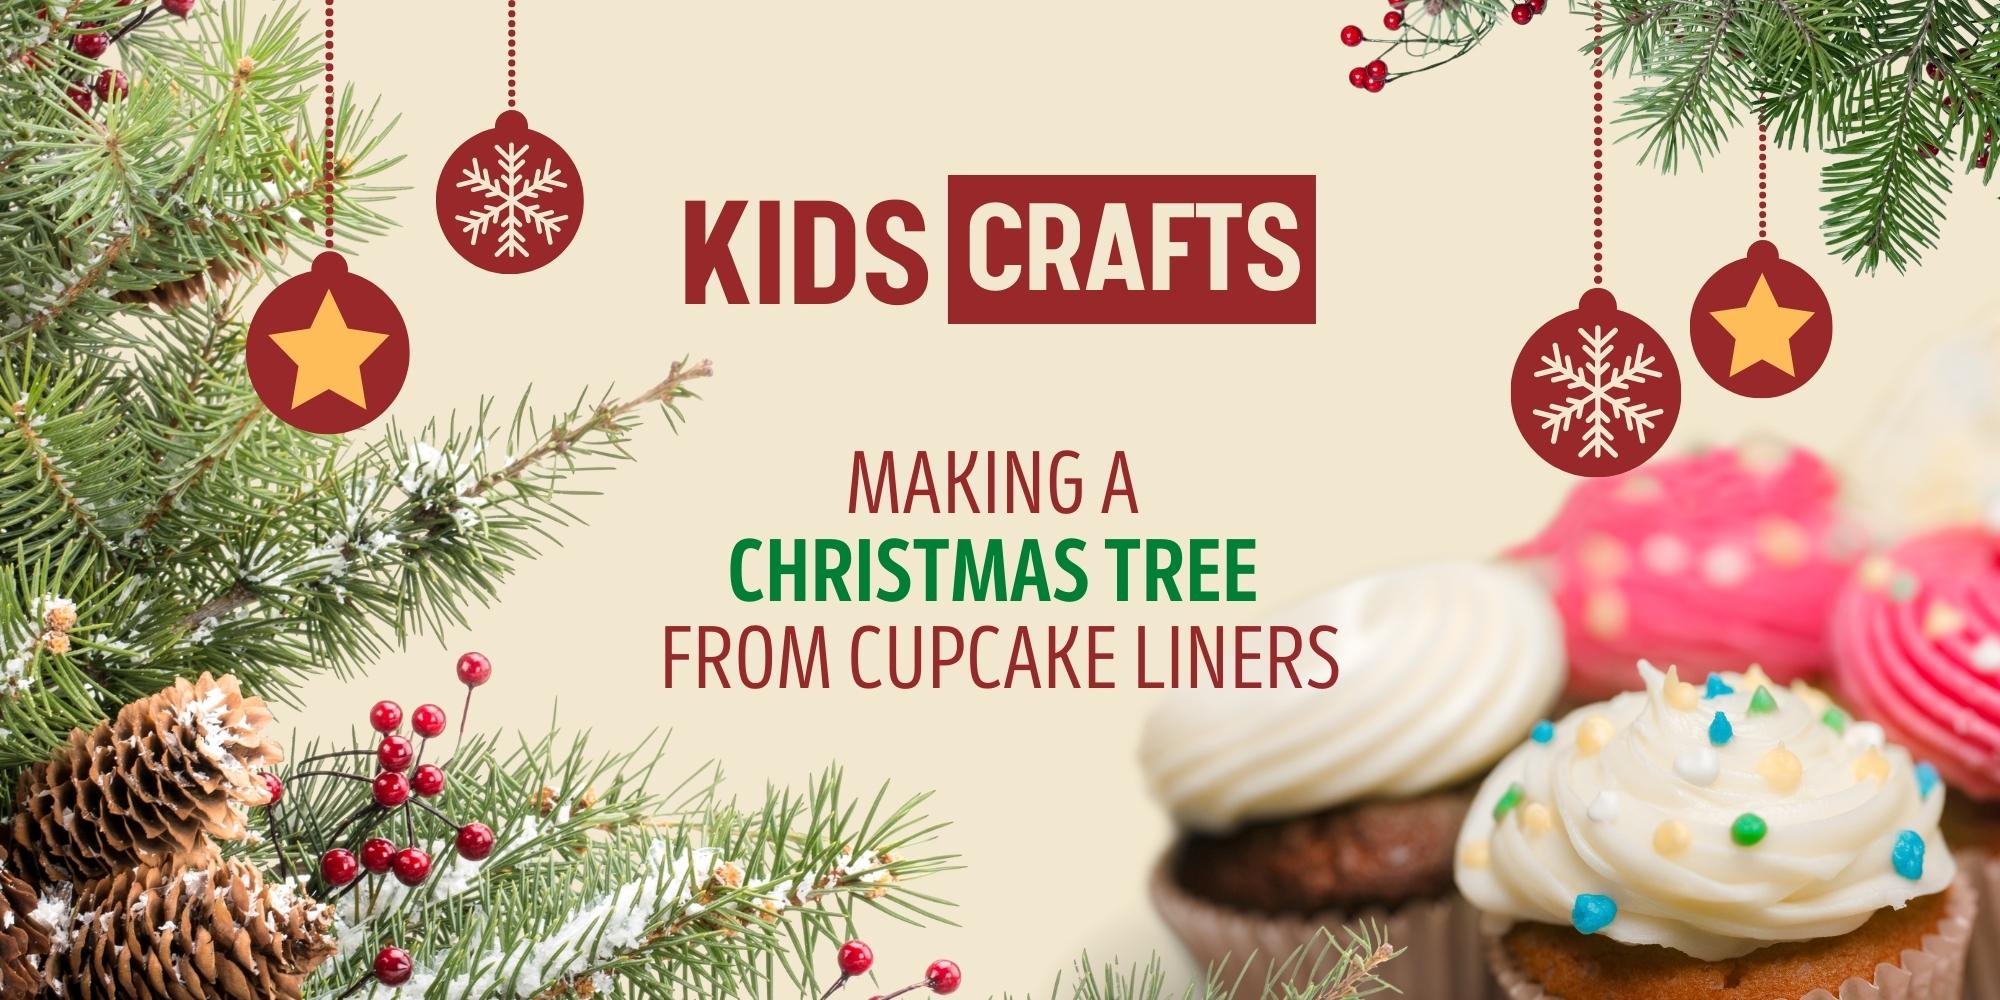
Cupcake Liner Christmas Trees
What You Will Need:
- An assortment of festive cupcake liners
- A paddle pop stick
- Pom poms or stickers
- Yellow or gold paper
- Craft Glue or Gluestick
- String or ribbon
A Step by Step Guide:
- You will need at least 3 cupcake liners per tree. Each liner will serve as a layer of your tree.
- Start off by folding your first liner in half and flattening it.
- Take one corner of the folded liner and bring it down to the middle and press down.
- Unfold to apply glue, then refold again, holding it down for the glue to set.
- Repeat the same process with another cupcake liner. You may make this one slightly smaller as it will go higher up on the tree.
- Continue with as many tree layers as you are doing. The final one should be the smallest, with both left and right corners folded into the middle.
- Apply glue to your paddle pop stick, leaving about a 2cm gap at the bottom for the base of the tree.
- Put the largest folded liner onto the paddle pop stick first and work your way up to the top of the tree, layering each triangle as you go.
- Once the smallest triangle is at the top, use your yellow or gold paper to cut out a star and glue it to the top.
- Once dry, add some decorations. You may use pom poms, stickers, beads, or even coloured markers.
- To turn into a tree ornament, glue or tape some string or ribbon to the back of your tree to hang from. Then repeat your design on the back of the tree so both sides look the same.
At Little Pioneers Childcare and Education Centre we encourage creativity.